Why use a platform
Introduction
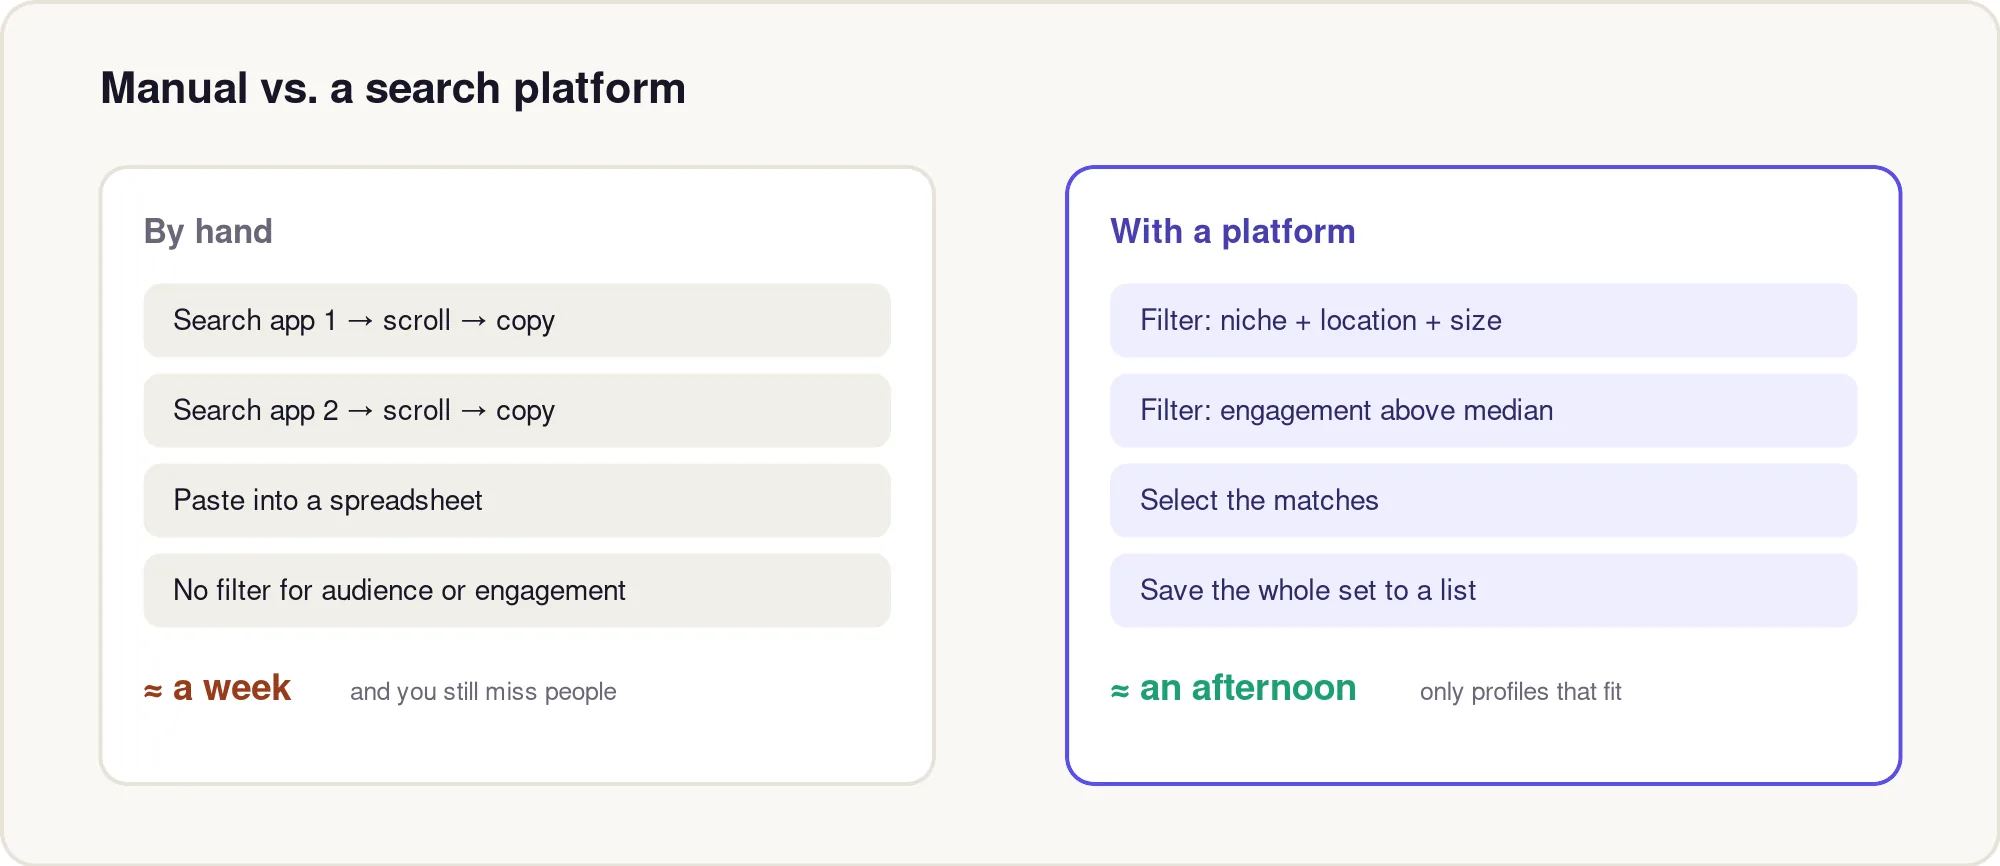
You can run all five discovery sources entirely by hand — plenty of teams do. The catch is the time: five separate searches across two or three apps, eyeballing each profile, and pasting names into a spreadsheet one row at a time, with no reliable way to filter by who the audience actually is.
This topic shows what changes when you move that work onto a creator search platform, when it's worth it, and how to run a filtered search well. The short version: a platform moves the filtering to the front, so the only profiles you ever look at are ones that already match your brief.
Why this matters
Manual discovery wastes hours on creators who were never a fit, because the surface of a profile doesn't tell you the two things that matter most: where the audience lives and how engaged it really is. You only find out after you've already spent time on them.
A platform inverts that. You set the constraints first — niche, location, size, engagement — and review a list that already clears them. For a lean team, that's the difference between a week of scrolling and an afternoon of selecting.
Core concepts
A creator search platform is a searchable index of public creator profiles with filters layered on top. Two terms to know:
- Engagement rate — average likes + comments ÷ followers, as a percentage. It tells you whether an audience actually reacts, independent of size.
- Audience location — the share of a creator's followers in a given country or region. Reach outside your market can't buy from you.
Impulze indexes 400M+ creators across Instagram, TikTok, and YouTube with 30+ filters — similarity, keyword, hashtag, audience location, size band, and engagement. As you browse, the SocialIQ Chrome extension shows a creator's real stats right on their profile, so obvious duds never make it onto your list.
Step-by-step process
- Start wide: set only your niche keyword or a similarity seed, and your platform (don't over-filter yet).
- Add audience location to match your selling market.
- Add a size band (e.g. nano–micro) that fits your budget.
- Add an engagement floor so low-quality accounts drop off.
- Select the matches and save the whole set to a named list in one pass.
You go from "search, scroll, copy, paste" to "filter, select, save." Tighten filters only if the result set is too big to skim.
Real-world examples
Example: a US clean-skincare brand filters to nano creators (1k–10k) whose audience is 60%+ US, who post skincare content, with engagement above the category median — then saves all 40 results to a list in one click. The same list by hand would have meant opening hundreds of profiles to find those 40.
Common mistakes
- Filtering so tightly you get five results — start wide and tighten only as needed.
- Ignoring audience location and paying for reach in the wrong market.
- Treating the platform's numbers as the final word — still vet the shortlist in the next phase.
Best practices
- Save searches as named lists per campaign so you can re-run and compare.
- Layer filters one at a time and watch the result count — it teaches you which constraint is too strict.
- Use the on-profile extension while browsing so you disqualify weak accounts before they reach your list.
Key takeaways
- A platform filters first, so you only review creators who already fit.
- Audience location and engagement are the filters manual search can't do well.
- Start wide, then tighten; save matches to a named list.
Next, the three searches that do most of the work, and how to run each one well.